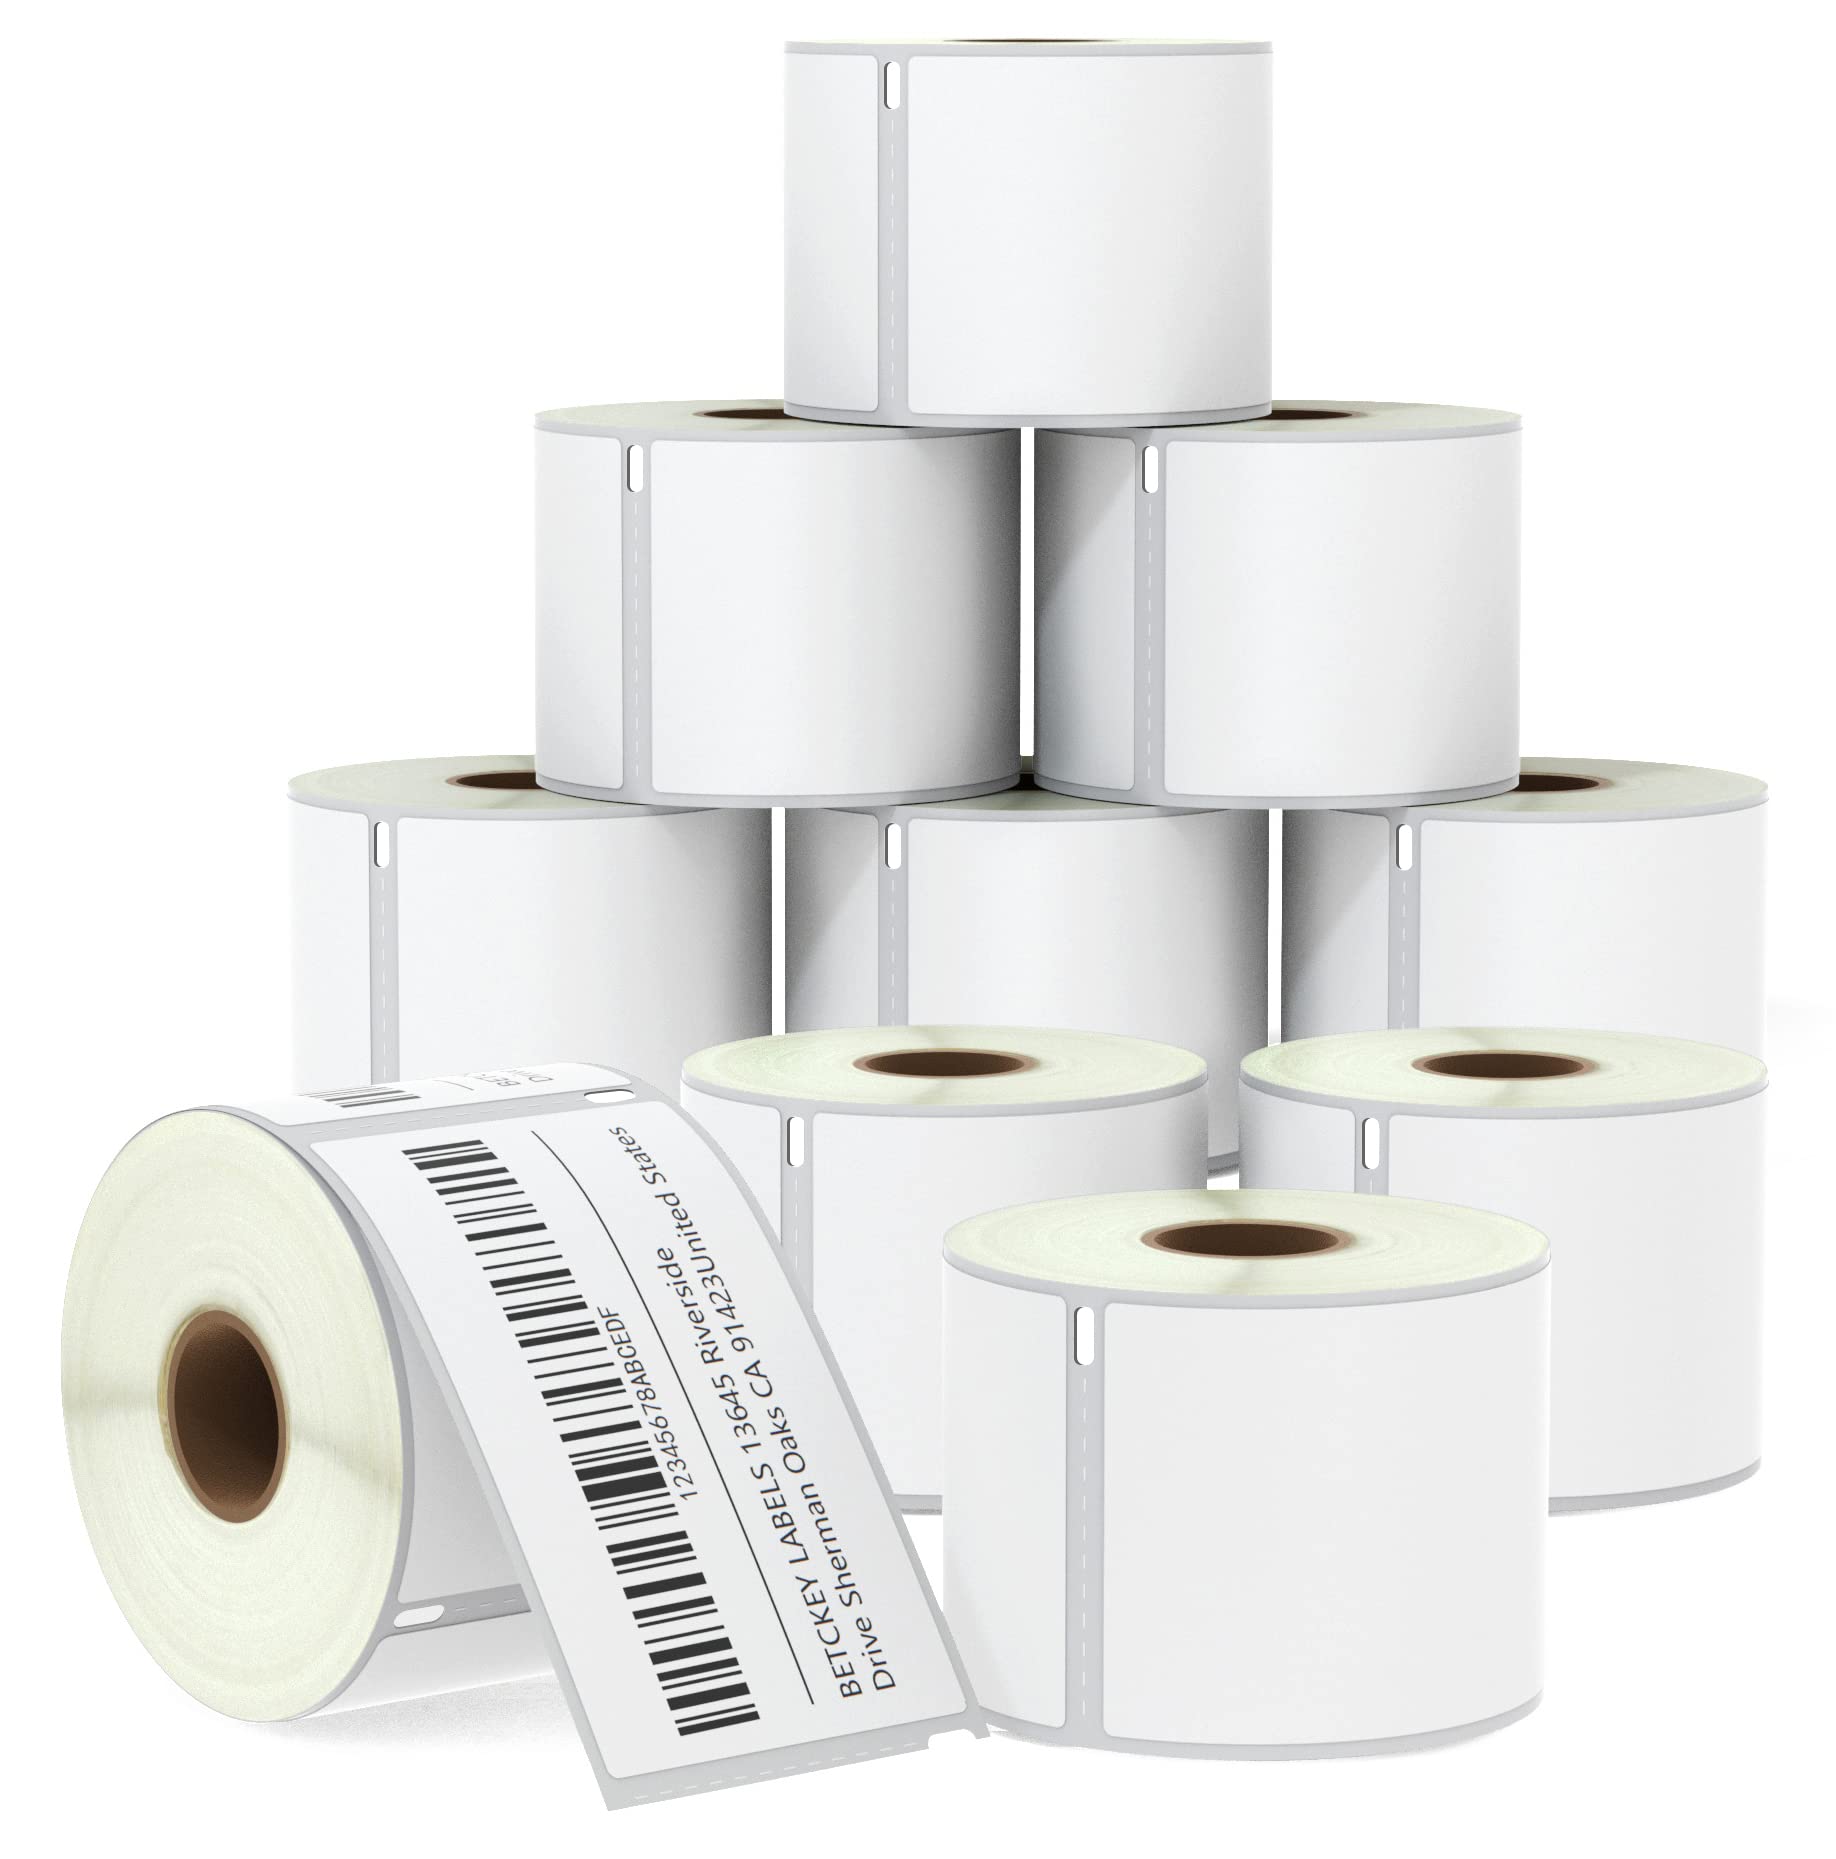
Dymo LabelWriter printers are widely recognized for their efficiency and reliability in producing high-quality labels for various purposes. One popular label type is the Dymo 30256, designed for shipping and addressing tasks. Properly loading these labels into your LabelWriter printer ensures smooth operation and avoids frustrating issues like paper jams or misaligned prints. This article provides a step-by-step guide to loading Dymo 30256 labels, along with tips for optimal performance.
Understanding Dymo 30256 Labels
Dymo 30256 labels large shipping labels, measuring 2-5/16” x 4”. They are commonly used for:
- Shipping packages.
- Printing address labels.
- Customizing organizational labels.
These labels come in rolls designed to fit seamlessly into Dymo LabelWriter printers, making them a versatile and convenient option for personal and business use.
Preparing to Load Dymo 30256 Labels
Before you begin, gather the following materials and check your printer setup:
Materials You Need:
- A roll of Dymo 30256 labels.
- A Dymo LabelWriter printer (e.g., LabelWriter 450 or 550 series).
Inspect Your Printer
- Ensure your LabelWriter printer is powered off and unplugged from the power source.
- Check the label spool area for any debris or leftover labels from a previous roll. Clean it if necessary to prevent printing issues.
Organize Your Workspace
Set up your printer in a clean, flat, and well-lit area. Having an organized workspace reduces the risk of mistakes during the label loading process.
Step-by-Step Guide to Loading Dymo 30256 Labels
Step 1: Open the Printer’s Cover
- Locate the cover latch on the top of your LabelWriter printer.
- Press the latch to release the cover and gently lift it open. This action exposes the label spool and feed path.
Step 2: Remove the Empty Spool (If Present)
If a label roll is already in the printer, remove the spool by lifting it out of the holder. Detach the empty roll core from the spool spindle and set it aside.
Step 3: Prepare the New Label Roll
- Take your roll of Dymo 30256 labels and remove any plastic or packaging material.
- Identify the labels’ leading edge, which should be facing outward for proper feeding into the printer.
Step 4: Load the Label Roll onto the Spool
- Separate the two pieces of the label spool by sliding the spindle off.
- Place the roll of Dymo 30256 labels onto the spindle, ensuring the labels unwind from the top and face outward.
- Reattach the second piece of the spool to secure the roll in place.
Step 5: Insert the Spool into the Printer
- Place the loaded spool into the designated holders inside the LabelWriter printer.
- Ensure the labels are aligned and centered in the feed path to avoid skewed prints.
Step 6: Feed the Labels Through the Printer
- Gently pull the leading edge of the labels forward and insert them into the label feed slot.
- Align the edge with the guide marks on the feed path to ensure proper alignment.
- Push the labels in until the printer detects them and automatically feeds them into position.
Step 7: Close the Printer Cover
- Lower the cover and press down firmly until it clicks into place.
- Double-check that the labels are still aligned properly in the feed path.
Step 8: Power On and Test the Printer
- Plug the printer back into its power source and turn it on.
- Use your computer or Dymo Label software to print a test label. Confirm that the labels feed correctly and print as expected.
Troubleshooting Common Issues
Misaligned Prints
- Ensure the label roll is properly seated on the spool.
- Check the guide marks in the feed path and realign the labels if necessary.
Labels Not Feeding
- Verify that the leading edge of the labels is clean and not folded.
- Inspect the label feed slot for any obstructions and clear them as needed.
Paper Jams
- Turn off the printer and carefully remove any jammed labels.
- Reload the labels, ensuring they are aligned and free of creases.
Maintenance Tips for Smooth Operation
- Clean the Printer Regularly: Use a lint-free cloth to clean the label feed path and sensor area.
- Store Labels Properly: Keep your label rolls in a cool, dry place to prevent adhesive issues or label curling.
- Update Printer Software: Ensure your Dymo Label software is up-to-date to avoid compatibility issues.
FAQs About Loading Dymo 30256 Labels
1. Can I use Dymo 30256 labels with all Dymo LabelWriter models?
Dymo 30256 labels are compatible with most LabelWriter printers, including the 450 and 550 series. Always check your printer’s user manual for compatibility details.tec
2. Why are my labels printing blank?
Blank prints often occur due to incorrect label orientation. Ensure the labels face outward on the spool and the thermal print side is exposed.
3. How can I prevent labels from jamming?
Avoid overloading the label feed path and ensure the labels are aligned with the guide marks. Regularly clean your printer to remove any debris that could cause jams.
By following these steps and tips, you can efficiently load Dymo 30256 labels into your LabelWriter printer and enjoy hassle-free label printing for your projects.


