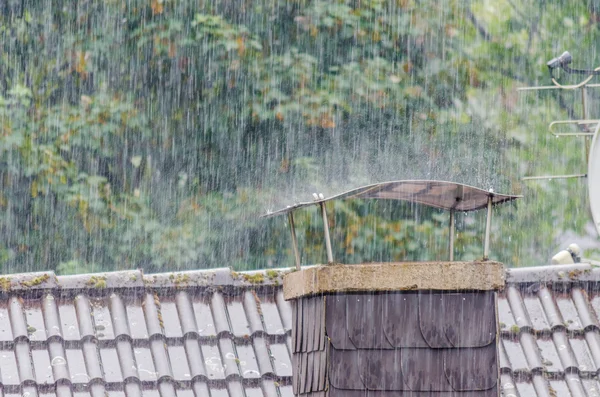
Storms are a force of nature, often leaving behind a trail of devastation. One critical part of a home that often takes a beating is the roof. Checking your roof after a storm isn’t just a good practice—it’s essential to prevent costly repairs and ensure your home’s safety. Storms can cause numerous types of damage, including the dislodging of shingles, dents from hail, leaks leading to water stains, and even punctures from debris. Spotting these issues early is crucial to maintaining your home’s structural integrity and safety. This article delves into understanding the types of storm damage, safe inspection practices, key signs of roof damage, the necessary tools for engaging a professional roofer, and more.
Understanding Different Types of Storm Damage
Storms can impact your roof in various ways. Wind is a major culprit, often ripping away shingles or loosening the flashing—the metal strips that provide a barrier where the roof meets other materials. Wind damage can lead to significant vulnerabilities if not addressed promptly. Hail presents another substantial threat. The force of hailstones can dent, crack, or bruise roofing materials, compromising their protective qualities. These impacts, though sometimes hard to spot immediately, can evolve into major problems like leaks as time progresses.
Water damage is perhaps one of the most insidious types of harm. Heavy rains can lead to leaks that result in water stains on ceilings or walls. Addressing these signs quickly is imperative to prevent further structural damage or mould growth. Lastly, debris from trees or other objects can puncture or damage roofing materials, and clogged gutters can cause water to back up, adding to potential issues.
Safety First: Inspecting Your Roof After a Storm
Before rushing to inspect your roof, it’s vital to prioritise safety. Storm aftermath can create hazardous conditions, so ensuring personal safety is paramount. Equip yourself with the right gear—sturdy shoes, gloves, and perhaps a hard hat. It’s generally safer to conduct an initial inspection from the ground using binoculars. Look for visible signs of damage, such as missing shingles or debris piles.
If it’s safe to proceed, a ladder can be used for a closer look. However, avoid climbing onto the roof yourself if it’s steep or slippery. This not only ensures your safety but also prevents potential further damage to the roof. Calling a professional is always wise if there is significant damage or if you’re unsure about how to proceed safely.
Key Signs of Roof Damage to Look For
When examining your roof, certain indicators should be top of mind. Missing, cracked, or curled shingles are obvious signs of wind or hail damage. Each missing or damaged shingle reduces the roof’s ability to protect the home from the elements. Check gutters and downspouts for granule loss—a tell-tale sign that shingles are deteriorating. Granule loss often indicates that the shingles’ protective layers are compromised.
Examining the flashing around chimneys, vents, and other structures is also necessary. Damaged or bent flashing can lead to leaks, making it crucial to ensure these areas are intact. Inside your home, look for water stains on ceilings or walls. Such stains indicate that water is penetrating the roof, and addressing these quickly can prevent more extensive damage.
Tools and Equipment Needed for a Roof Inspection
Having the right tools is essential for a thorough roof inspection. A sturdy ladder and binoculars are fundamental for both close and distant viewing. Inside, a flashlight can help reveal water stains or mould in attics or dark corners. Various roof inspection apps and checklists are available that can assist in organising findings and taking clear inventory notes.
Safety gear, such as gloves and a helmet, is important to protect oneself during the inspection. Consider using your smartphone or a camera to take photographs—documentation can be crucial when dealing with insurance claims or when engaging roof repair services. Detailed notes alongside photos can streamline communication with professionals tasked with repairs.
When to Hire a Professional Roofer
In some instances, the damage may be beyond what a homeowner can safely or effectively address. Extensive damage or roofs that are steep or complex in design are best left to professional roofers. Choosing a reputable roofer involves checking reviews, ensuring they’re licensed and insured, and obtaining multiple quotes to ensure fairness.
Professional assessments benefit from precision and safety, offering peace of mind that nothing is overlooked. Roofers also provide valuable insight into roofing warranties and can guide maintenance strategies going forward. Leveraging a professional’s expertise ensures that any damage is rectified accurately and efficiently, potentially extending the roof’s lifespan.
Conclusion
Post-storm roof inspections are a practise that can save homeowners from future headaches and costly repairs. By prioritising safety and conducting thorough checks, one can pinpoint issues before they escalate. However, understanding when to let a professional step in is equally important. Regular maintenance and awareness can protect your home from further storm damage, safeguarding not just your roof but also your peace of mind. Maintaining proactive habits will ensure a sturdy shelter from the storms for years to come.


